|
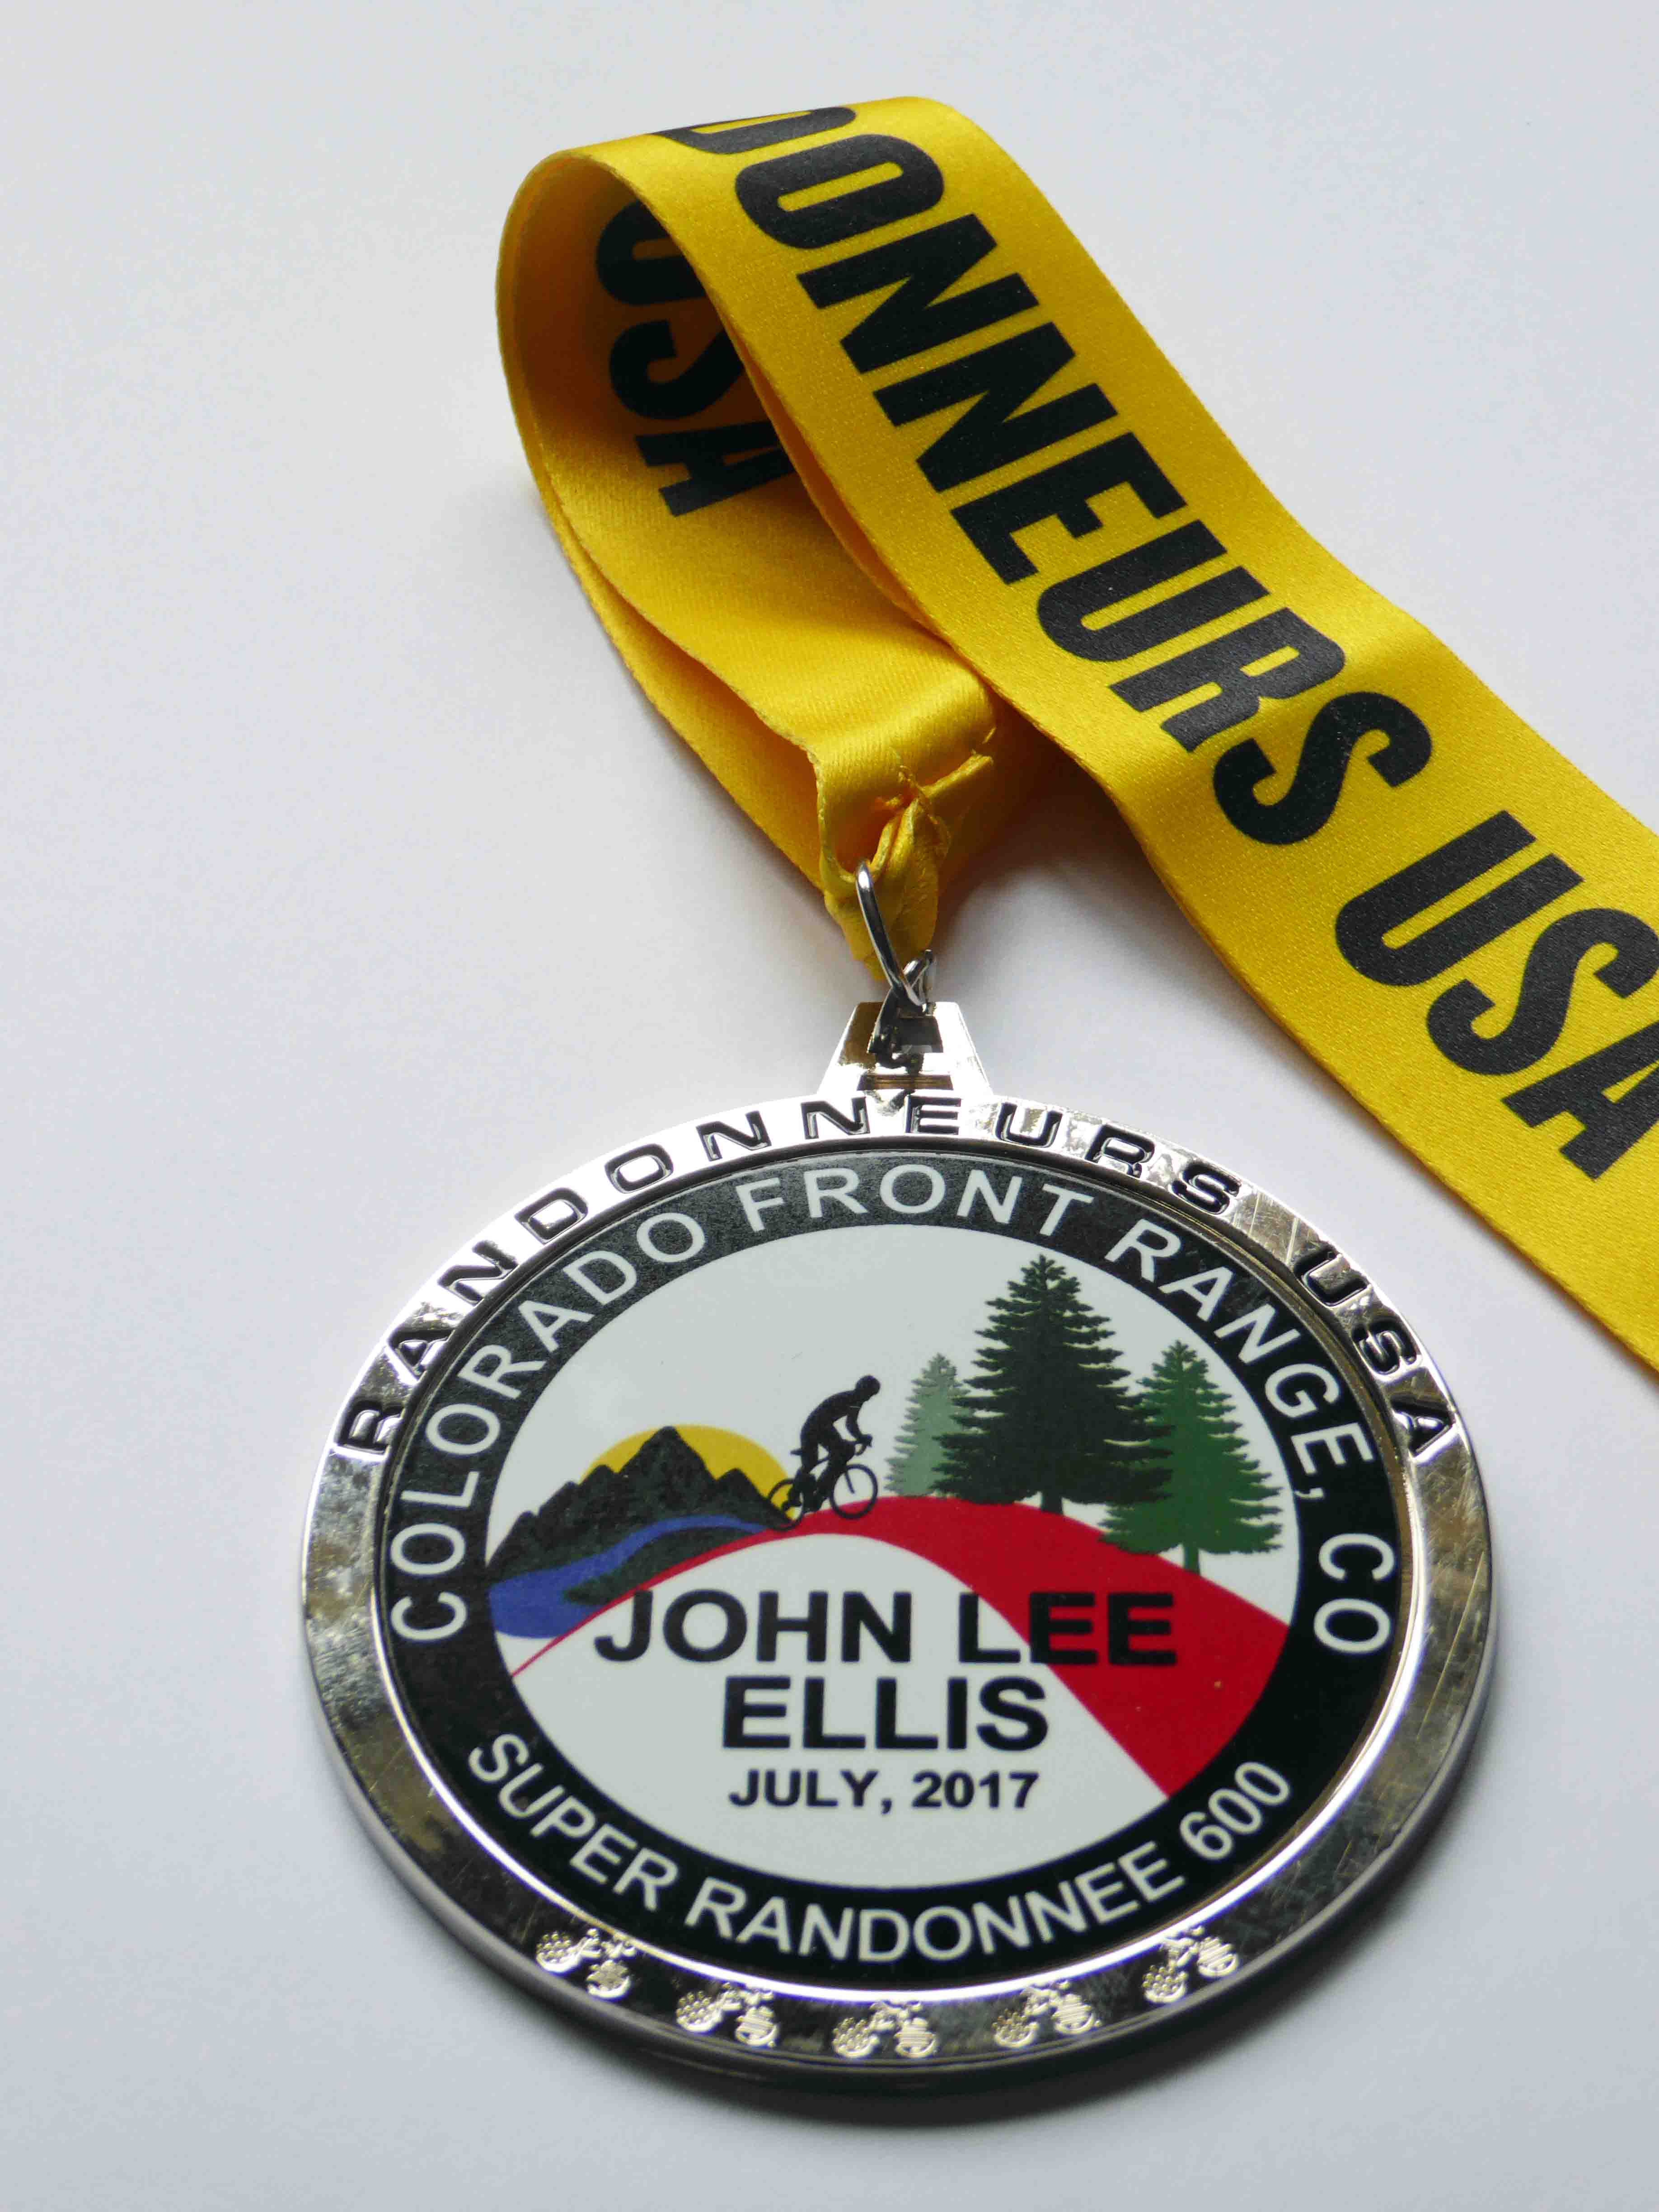
600K Super Randonnées, usually called SR600s or "Super Sixes" in the US, are especially challenging permanent routes sanctioned across the world by Provence Randonneurs. They are 600-619 km long, with at least 10,000 meters of climbing, that are meant to travel through remote and beautiful terrain. They are epic adventures! However, they follow a somewhat different set of rules than standard RUSA permanent routes. This article summarizes how to register and ride a US SR600, as well as information for SR600 route administrators or those who are thinking of developing a new SR600 route. Finally, riders who successfully complete a US SR600 may order a customized medal, shown to the right, which includes route name, rider name, and date of ride. Image
|
 |
Information for SR600 Riders
Although RUSA recognizes completion of US SR600s for RUSA credit and lists them in the RUSA permanents database, they are run under somewhat different rules than standard RUSA permanents. The full set of rules is shown here. Some important differences are:
- The time limit is 60 hours, versus 40 hours for a standard 600km, to allow for the large amount of climbing. (There is also a “tourist” mode with an even longer time limit, but these are not recognized for RUSA credit. Tourist mode rides are recognized by Provence Randonneurs, including for their “10 Super Randonnées” award.)
- No outside assistance is allowed anywhere along the route, as opposed to standard RUSA perms which permit assistance at controls.
- Photos are used as proof of passage at controls, although some administrators also require a time-stamped receipt from a 24-hour store at the start and finish. Electronic proof of passage by GPS tracks is NOT currently allowed. There are no time limits for the controls except the final one.
- Riders are supposed to attach a frame badge to their bike during the ride, which should appear in the control photos. (This also makes a great souvenir of the ride.)
- Riders may only start at the official starting point (or the secondary starting point, if one is defined for that route), not at any arbitrary control.
- Each route has a route administrator, whom riders should contact in advance about riding the route. The procedure is described below.
If you are interested in riding an SR600, here’s the procedure:
- Find a route at the RUSA permanents search page. Check the box for “Only show SR 600K routes” followed by Search to see a list of all of the US SR600s. When you click on a route name, the description that appears will include a Contact. Clicking on the contact’s name will reveal an email address at which to contact the administrator with questions and/or to propose a ride date.
- You can examine the route by clicking on the Route URL link. To further research the route, the RideWithGPS route for that perm may contain a link to a page developed by the administrator with details about the route.
- After you agree with the administrator on a ride date, the administrator will ask you to complete an online RUSA waiver and to send a copy of the waiver to the administrator . You will also be asked to send a fee (typically $15-25) to cover
the route administrator's costs.
- The administrator will then send you a frame badge and control card. The frame badge should be attached to your bike during the ride and appear in your control photos. The card can be completed after the ride with the dates and times for all of the controls.
- During the ride, document your passage by taking photos of your bike (with the frame badge visible) at each of the control locations specified for the route. Expect that some photos might have to be taken in total darkness, so be prepared with a suitable phone or camera with that capability
- After completing the ride, send your control card, control photos, and receipts (if required) to the administrator . Most administrator accept electronic scans of these for getting your result posted, but you will then need to mail the physical control card. After checking your materials, the administrator will submit your result to RUSA. (Note that since controls are based on photos, if you have time-stamped photos you can just fill in the control card after the ride using the control times from your photos.)
- The route administrator will submit your RUSA results, and once per year all SR600 results will go to Provence Randonneurs.
Procedures for SR600 Route Administrators
Route Administrators provide information about their routes to prospective riders, make sure that riders are properly registered and are aware of the SR600 rules, evaluate riders’ proof of passage, and finally submit results to both RUSA and Provence Randonneurs. Administrators collect a fee from riders that is used
to cover their own expenses. A typical fee is $15-25.
Route Administrators and their routes are approved by the Provence Randonneurs through our US representative that can be found by searching for the Super Randonnée Liaison in the RUSA Officials Search.
Once you have agreed on a ride date with a prospective rider, the procedure is:
- Get the rider to sign a RUSA waiver.
- Send the control card and frame badge to the riders and make sure that the rider knows the rules. As noted above, there are some significant differences between RUSA perm rules and SR600 rules.
- After a rider finishes and sends you properly completed control cards and control photos, submit the results to RUSA at the results submission page.
- In late September you will receive a spreadsheet from the US Representative for Super Randonnées for you to fill in with all your year's SR600 riders and return. This data will be sent in turn to Provence Randonneurs. Worldwide results are posted on the Provence Randonneurs website.
Control cards and frame badges can be ordered from the US Representative for Super Randonnées, mentioned above, for a nominal fee.
Homologation numbers for completion of routes in the US in the “randonneur” mode are generated using the pattern US-RN-R-#, where RN is replaced by the initials for the route and # is replaced by a number that increments for each successive randonneuring completion of that route. For example, the 9th successful finish of the East Bay SR600 in randonneur mode would have a homologation number of US-EB-R-9. The 12th rider in randonneur mode on the Big Savage route would be US-BS-R-12. If that 12th rider completed it in tourist mode, their homologation number would be US-BS-T-12.
The route administrator or US SR600 Representative can choose the two-character code for the route, but make sure it hasn’t already been used for another US route.
Procedure to create a new SR600 route
New SR600 routes should generally not be located close to an existing route unless the new route provides unique features that justify having more than one route in an area. If you are in a hilly area that does not have an existing SR600, and would like to create a new one, please follow these steps:
- Lay out your route and make sure that it meets the requirements listed at Provence Randonneurs' Rules of Super Randonnées Organizers. Some of the key ones are:
- Route length should be between 600 and 619 km
- Total elevation gain should be in excess of 10,000 meters, as determined by the OpenRunner program. Some tips for designing the route are provided below.
- The distance should be controlled by a set of control locations with a distinctive feature that can be documented by control photos.
- Once you have a route that meets the requirements in OpenRunner, send the information listed in Provence Randonneurs' "APPROVAL OF THE SUPER RANDONNEE" section, including the link to your OpenRunner route, to the US Representative for Super Randonnées.
- Secondary starting point - You may request a second starting point if that makes sense for your route, when you submit your route to the US Representative for Super Randonnées, or afterwards.
- Once the route has been approved, for RUSA members to get RUSA credit riding your route, you must submit it as a RUSA Permanent Route using the usual submission procedures, including a RideWithGPS route that conforms to Perm Program standards.
- You can create detailed info about your route, including photos of checkpoints, etc., and have RUSA host this info in a document on RUSA’s Google Drive. Send a request to the US Representative for Super Randonnées and a document will be created which you can edit and maintain. You can include the link to this document in the RUSA perm route description, or the RideWithGPS route, or both.
Tips for designing the route
- OpenRunner typically indicates less climbing than other programs like RWGPS, so you are likely to need more than 10,000 meters of climbing in RWGPS to meet the mark in OpenRunner .
- Many people find OpenRunner more awkward to use than RWGPS. And you will need a RWGPS version of the route for the RUSA permanent listing. So, a good strategy is to lay out your route in RWGPS, export it to GPX, and then import it into OpenRunner to verify the required distance and elevation gain. If you need to modify the route, make the changes in RWGPS and then reimport to OpenRunner .